I’ve never started a business before. Ever.
As an ecommerce expert, it’s embarrassing to admit, but there it is. I’ve never successfully started and grown an online store.
That fact weighed heavily on my mind when I was thinking about writing a case study to help other store owners succeed. It even kept me up late at night a few times. Starting a dropshipping business for the first time is a bit scary, but there are things you can do to turn that fear into a profitable business.
The first step involves reading. Reading allows you to expand your knowledge, quickly. When you read something, you absorb all of the thoughts someone else already had and shared. You learn from their experiences and avoid falling into common pitfall traps.
You can read Tim Kock’s How I Built a Dropshipping Store That Made $6667 in Under 8 Weeks.
The next step is to seek mentorship. One of the easiest ways to avoid rookie mistakes is by talking to someone who has already made them. Not only will this help you save time and money, but it’ll also provide you with some more insight into what it takes to be successful. Often, getting ahead is about more than tactics—it’s about a mindset. Setting aside some time to discuss your plans and ideas with a mentor will accelerate your growth and get you on track much quicker.
Before I jumped into starting my store, I spoke with both Corey Ferreira and Tucker Schreiber who both wrote case studies on the Shopify blog.
Corey wrote How I Imported Gaming Glasses with Alibaba and Made $2416.51 in 5 Weeks.
And Tucker wrote How I Built an Online T-Shirt Business and Made $1248.90 in 1 Week.
This was huge for me, not just strategically, but also emotionally. Taking the plunge into starting a business is not an easy task, but hearing from others that already done so successfully makes it seem more achievable.
If you’re thinking about starting a business, I can’t stress enough the importance of seeking guidance first. You’ll get some interesting tips and tricks, along with a support network to help you get over any roadblocks that you encounter.
If you don’t know anyone who has started a business before, then I would definitely recommend joining some Facebook Groups for ecommerce entrepreneurs. Feel free to check out Dropship Business Masterminds.
Post Contents
- Finding a Product to Sell
- Dropshipping with Oberlo
- Coming up with a name and logo
- Starting My Store
- Receiving My Samples
- Getting My First Sale
- Fulfilling an Order through Oberlo
- Putting My Email List to Good Use
- Tweaking and Optimizing My Ads
- Doing Things that Don’t Scale
- Setting Up an Affiliate Program
- The Final Push
- Want to Learn More?

Don’t wait for someone else to do it. Hire yourself and start calling the shots.
Get Started FreeFinding a Product to Sell
I’m going to be honest with you: at many points in this case study I went against my own instincts to make this story more interesting.
Don’t worry, I didn’t do anything reckless. But I did do some things a bit differently. For instance, I didn’t start this business by finding a niche first. Instead, I found a product.
Focusing on a niche is a great way to start a business, especially if it’s a niche that you’re already familiar with. If you understand your ideal customer, then finding a product that fits their wants and needs is simple. You simply need to look at their pain points and desires and an opportunity for a product will leap out at you.
Starting with a product, like I did, can be challenging. Instead of looking at a set of customers and offering up a solution for their problem, you start with a solution and try to find the problem that it fits with.
That being said, it’s tough—but not impossible. From my previous research into trending products, I knew that there were certain items out there that were selling like crazy compared to anything else. Based off some of my other reading through past articles, I also knew that there was a massive opportunity to dropship products. I had recently discovered Oberlo, a popular dropshipping app that allows you to find products to sell online.
I read articles on trending products ideas. I started taking each idea and cross-referencing it with what was available on Oberlo.
Initially, I identified a few products that seemed like interesting opportunities. Dad hats and enamel pins caught my eye, but Tucker wrote about creating an apparel business, so I didn’t want to retread old ground. Bluetooth speakers was another interesting one, but I wanted to focus on a product that was affordable and easy to ship.
I built out a quick framework outlining what would make an ideal product for my case study:
- It needed to be available on Oberlo. I was set on dropshipping.
- It needed to have ePacket as a shipping option for the US.
- It needed to be affordable. Under $5 preferably, including shipping.
- It needed to be trending positively on Google Trends with a healthy amount of search volume on Keyword Planner.
This part of the process took me a while, as it should. Deciding on a product is an incredibly important part of starting a business, possibly the most important. Of course, you can change your niche later on, but if you don’t have faith in your product then you won’t give it your all.
While I didn’t land on a final product from basic research, I did get some interesting ideas. I decided to try other resources to find more inspiration.
Trendosaur was one of the first tools that I tried out. It’s a trending product analytics tool that pulls in data from platforms like Polyvore and Wanelo to give you a snapshot of popular products to sell. Trendosaur gave me some insight into what products people were buying. I started to notice some similarities emerging between both Trendosaur and my research on trending products: phone cases.
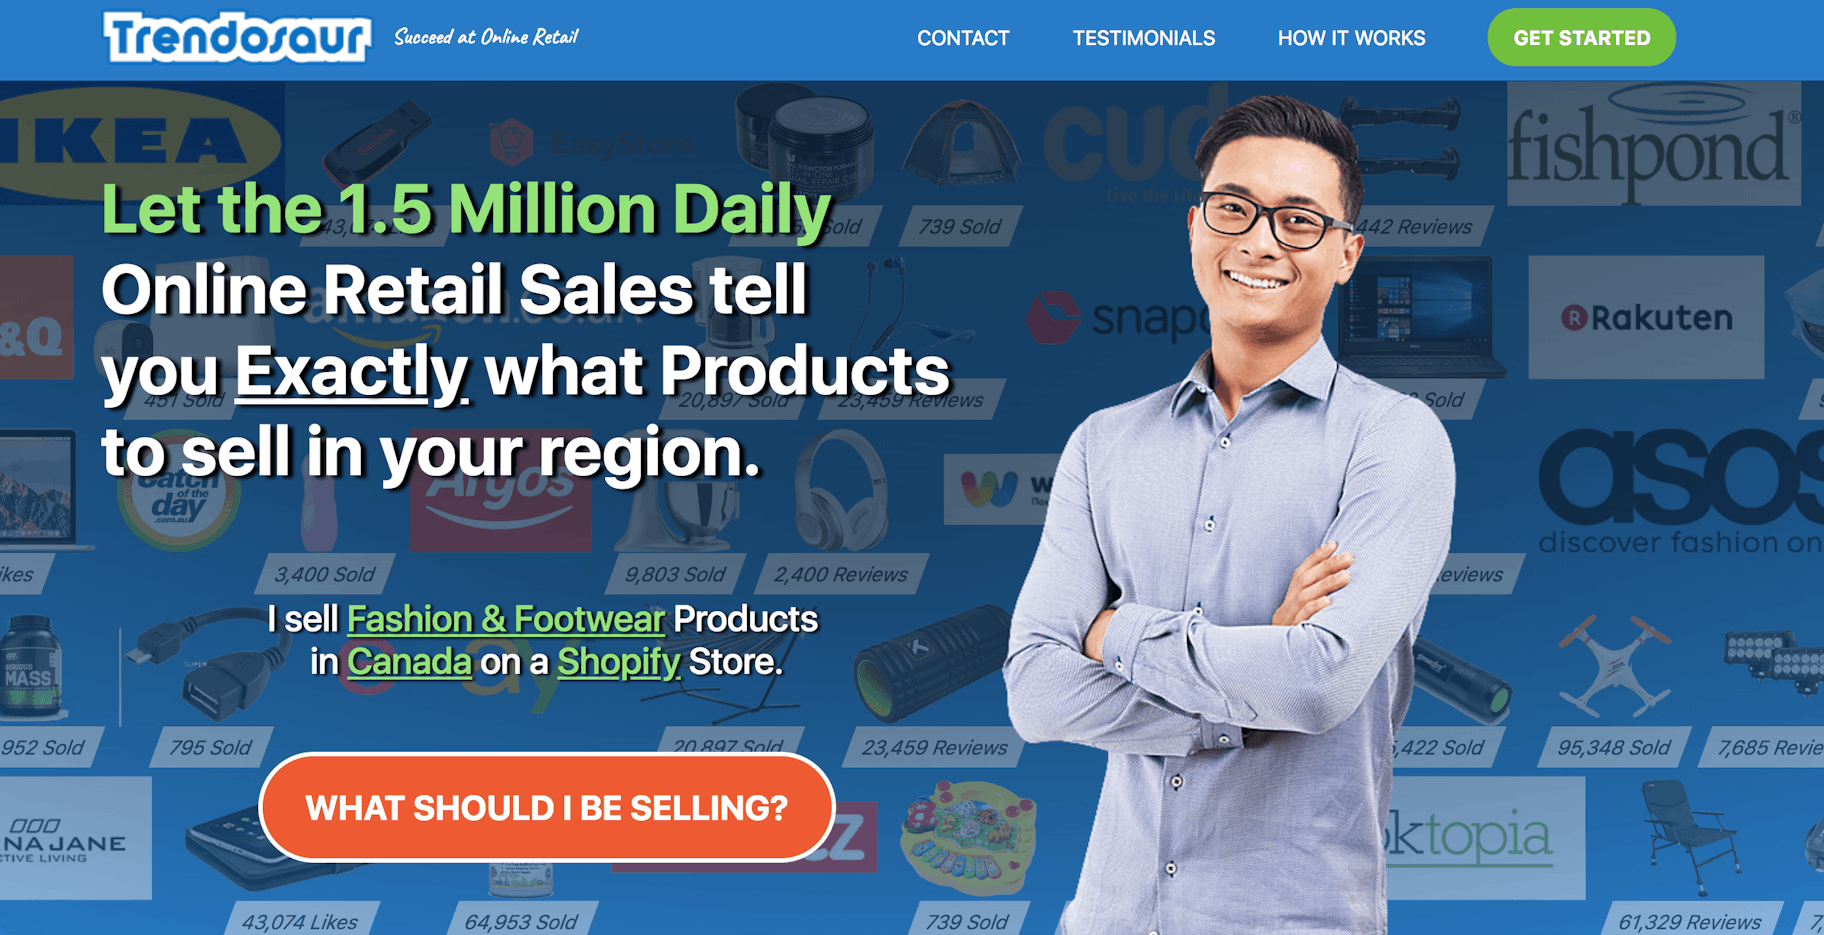
Phone cases are popular right now. The more specialized the niche, the better. This didn’t give me any ideas immediately, but I definitely kept it in mind as I started searching elsewhere.
I tried looking in other places like Pinterest, Reddit, and the top trending section on Alibaba, all of which helped, but I still hadn’t figured out exactly what I wanted to sell.
During these early stages of this case study, I had just moved into a new condo with my partner and puppy, and I spent most of my weekends browsing furniture store showrooms. It was during these trips that I actually had my first moment of inspiration.
Between stress testing mid-century couches and sorting through textile swatches, I started to notice that there were some really unique home decor design trends that had taken off recently. The most notable trend? Marble. Marble cutting boards. Marble coffee tables. Marble was everywhere.
This thought stuck in the back of my mind. Marble was incredibly popular and I needed to capitalize on it somehow. I knew I needed to sell marble products, but what?
I filed the thought away… for now.
I still remember when it all came together. That moment of pure clarity. It was a mere few days later. I was sitting on a couch at the office and noticed that many of my coworkers laptop sleeves were also marble. Then it hit me.
Marble phone cases.
I scrambled to boot up Google Trends and search for “marble phone cases”. There was a huge trend for “marble phone cases” on the rise.
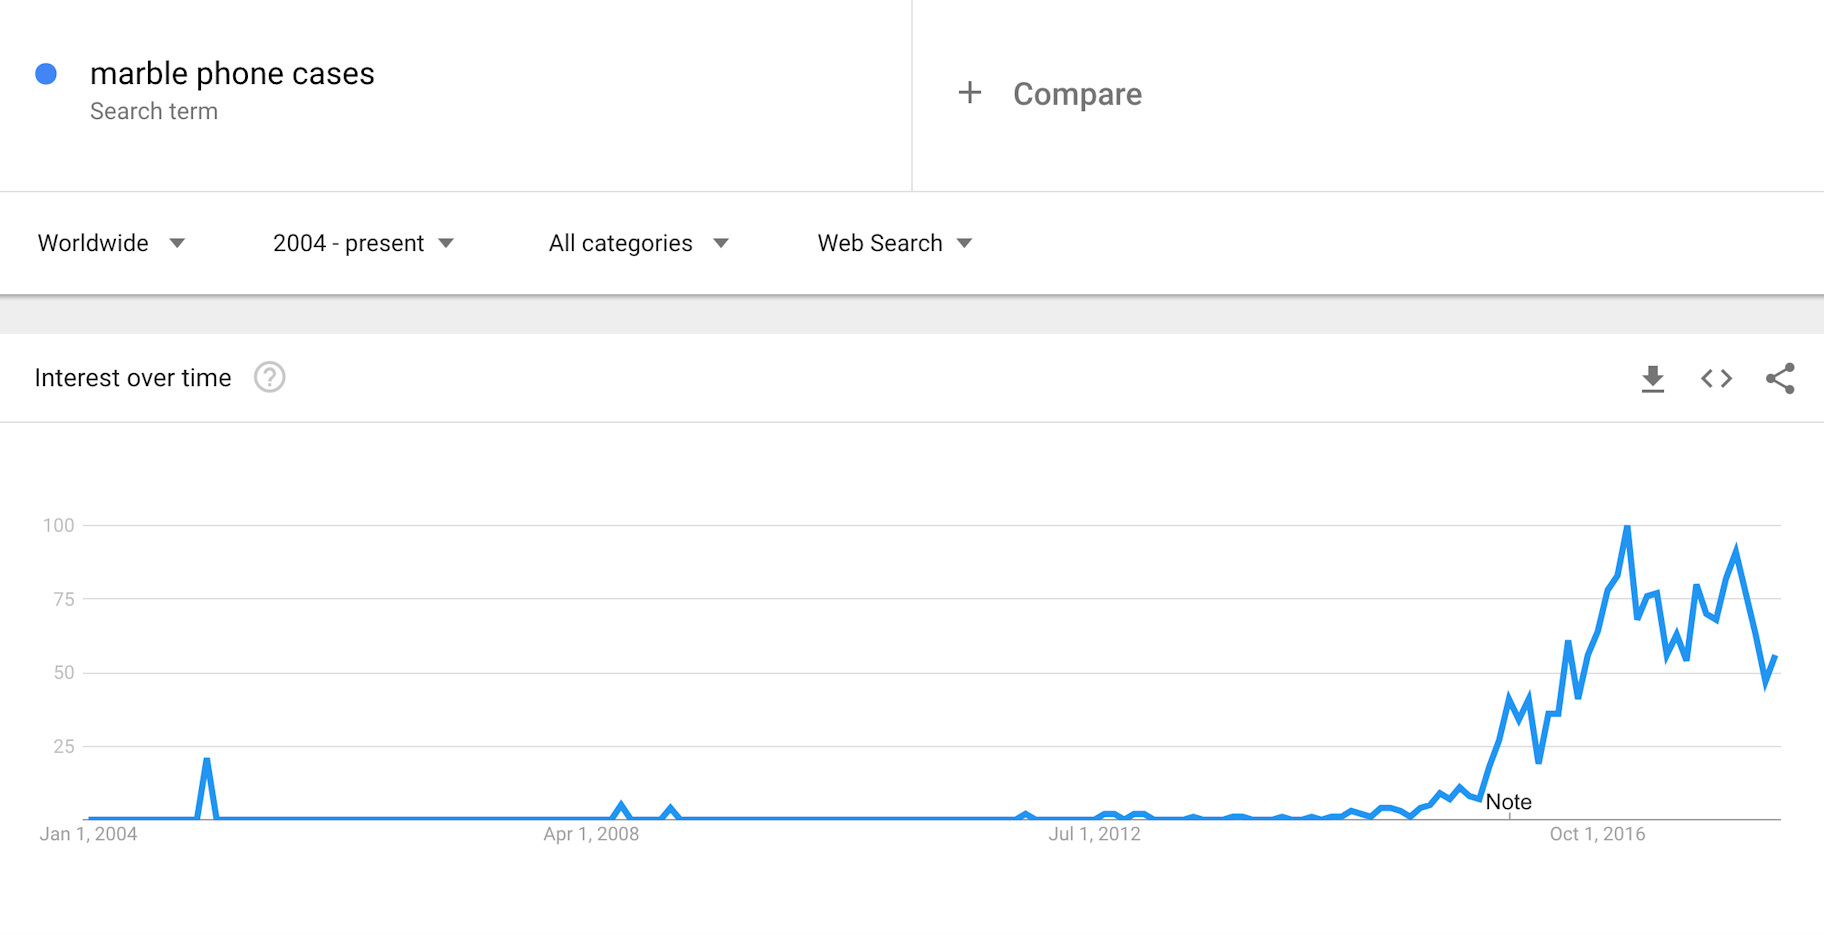
Amazing! Okay, now I needed to make sure it wasn’t a fluke. I logged into Pinterest, searched marble phone cases and—wow. Tons of pins. Tons of engagement.
This was it.
I knew what I needed to sell and the inspiration for it didn’t come from digging through data and reports: it came from everyday life. Pay attention to the details.
There’s a valuable lesson in this: inspiration can come from strange places. Even a furniture store, apparently.
Try to look for new trends and patterns in the products you buy.
Think about what people want and need. And think about it hard.
You might be surprised by what you find.
Dropshipping with Oberlo
Now that I had a product idea, it was time to start looking for products to sell. Before I get into that though, let’s talk a little bit more about dropshipping with Oberlo.
Dropshipping with Oberlo is a simple enough concept. Find a product you want to carry, import it into your store, and—when a customer places an order— process the order directly in the app in one click. Boom. You’ve got yourself a dropshipping business.
Using Oberlo to Dropship
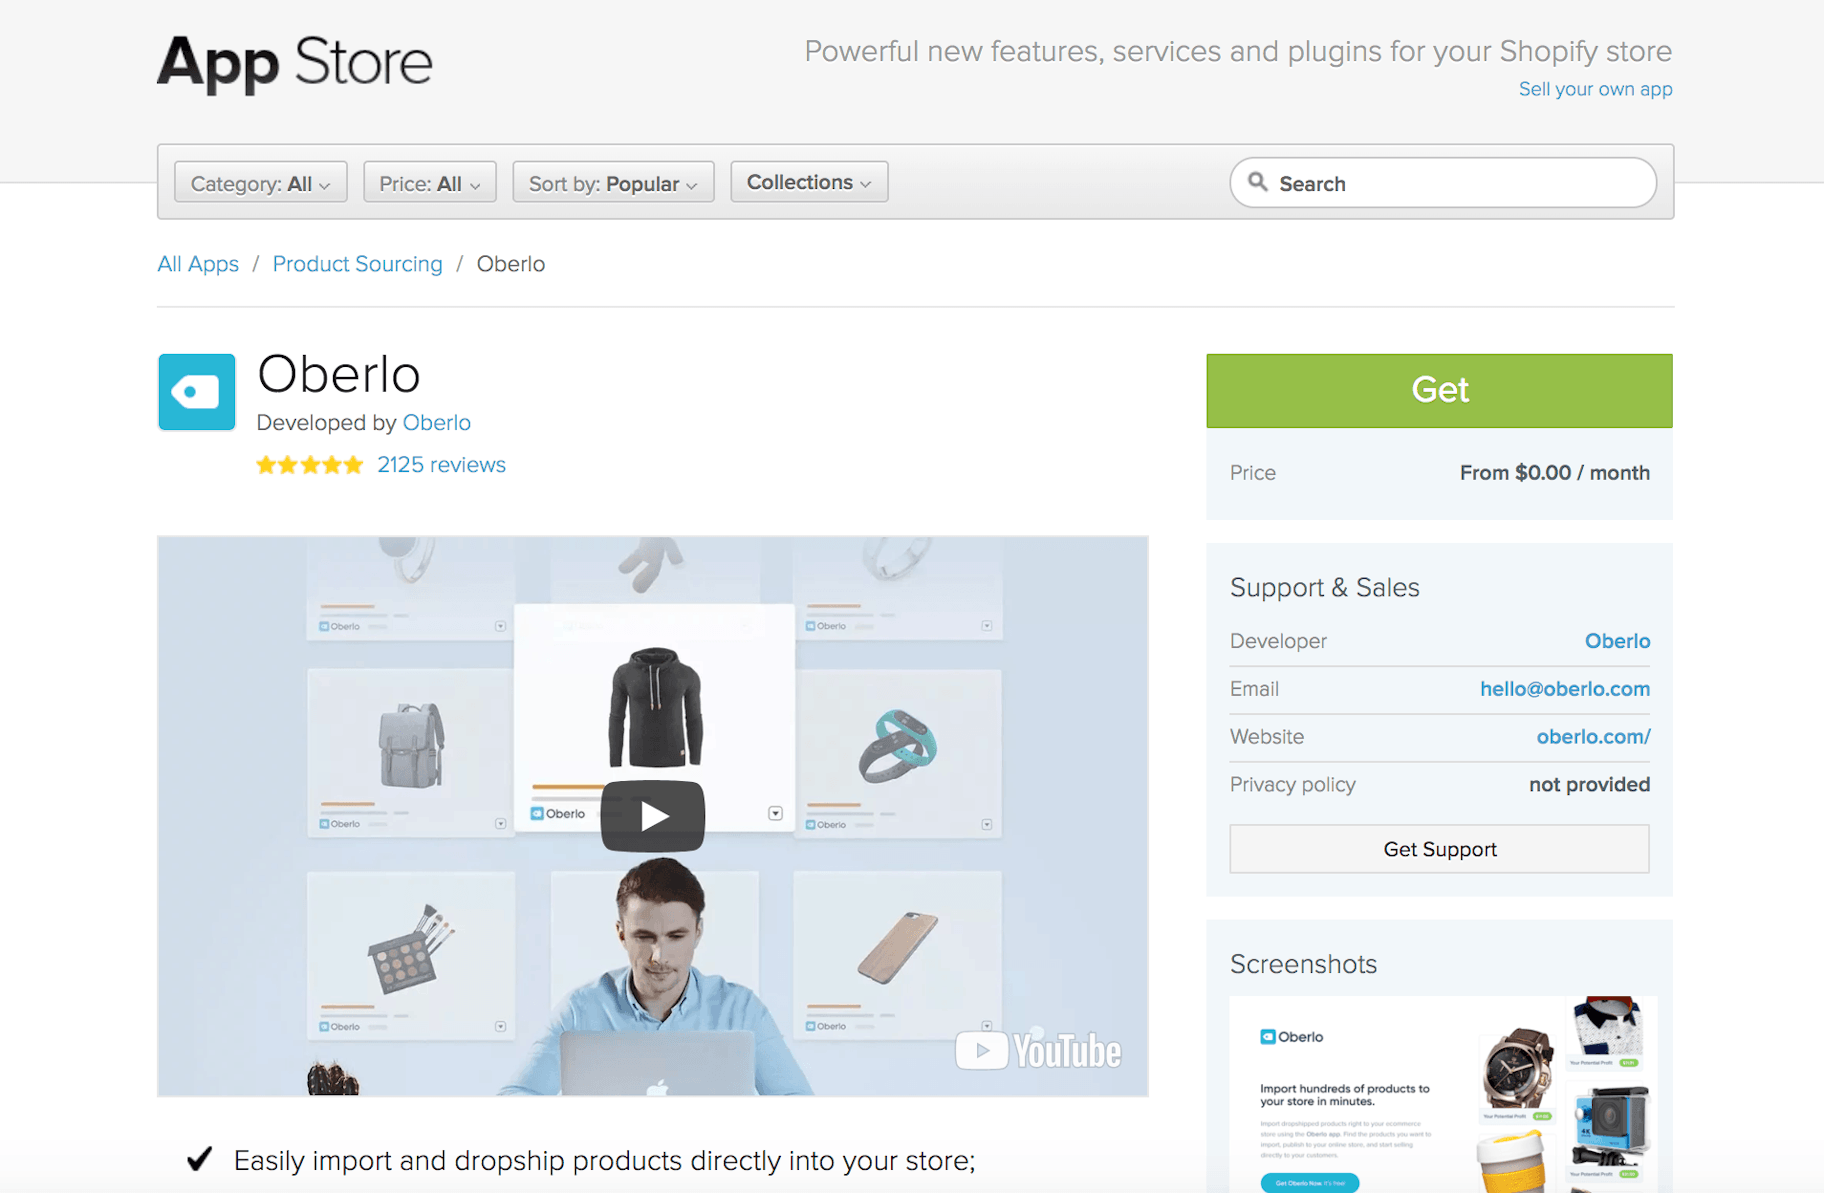
Oberlo—a Shopify App that fully integrates with your online store and allows you to choose from millions of products with the click of a button. And when it comes to processing orders, Oberlo automatically sends each customer’s shipping details directly to the manufacturer. Thus, making the entire process simple and straightforward.
The other handy thing about Oberlo is that it has its own Chrome Extension for narrowing down manufacturers.

When you search for a product on AliExpress, the Oberlo Chrome Extension points out exactly which ones have ePacket, a delivery method, that is crucial to running a successful dropshipping store. With ePacket, orders tend to arrive within a couple of weeks rather than the typical two month wait time for international products. Not all manufacturers offer ePacket and many only offer ePacket to the US, so you need to keep an eye out for this while in the early stages of planning.
So, I began my search for a quality manufacturer.
Many suppliers sell phone cases. The tough part is weeding out the great ones from the not so great ones. To do this, you need to look at a few key features.
Two of the most important ones are seller rating and how long they’ve been in business. I avoided any manufacturers that had been operating for less than a year, that seemed too risky for me. I chose dropshipping, specifically, for its lower risk.
The seller also had to have positive feedback overall; less than 97% made me a little uncomfortable. You don’t want to risk choosing a manufacturer that will send your customers an unsatisfactory product.
Once I tracked down a manufacturer that checked all my boxes, I put in a quick order for all the product variants that I wanted to carry.
Now I just needed to wait for my samples to come in.
Coming up with a name and logo
My samples would take a couple weeks to arrive, so I decided to start building my store.
The first thing that I did was try to come up with a business name because, well, I love naming things. I knew the general vibe of what I wanted my brand name to be: fun, energetic, playful. I noticed similar phone cases on the shelves of places like Urban Outfitters, H&M, and Topshop, so I figured that my brand should try to capture the same feel as those retailers since I would inevitably try to reach the same audience.
I also wanted a URL that matched my exact brand name. To help me brainstorm (and ensure that a URL was available), I used a Business Name Generator and started poking around.
Since I was planning to sell phone cases, I typed “case” into the generator and let it do its thing. It pumped out pages of results and I started combing through them to find the right one.
There were lots of great candidates, like:
- Case Sweet
- Oasis Case
- Case Spice
- Sunday Case
- Case Treat
- Case Jewel
But, after a few pages, I found the perfect name: Crush Case.
How was that not taken already? It was everything I wanted in a brand name. It also immediately hit one of my cardinal rules for naming things: it sounded familiar even though I was hearing it for the first time.
It was also catchy, fun, and used alliteration. I bought the domain on the spot.
Okay, so now I have a cool brand name.
Next, it’s time to create a logo.
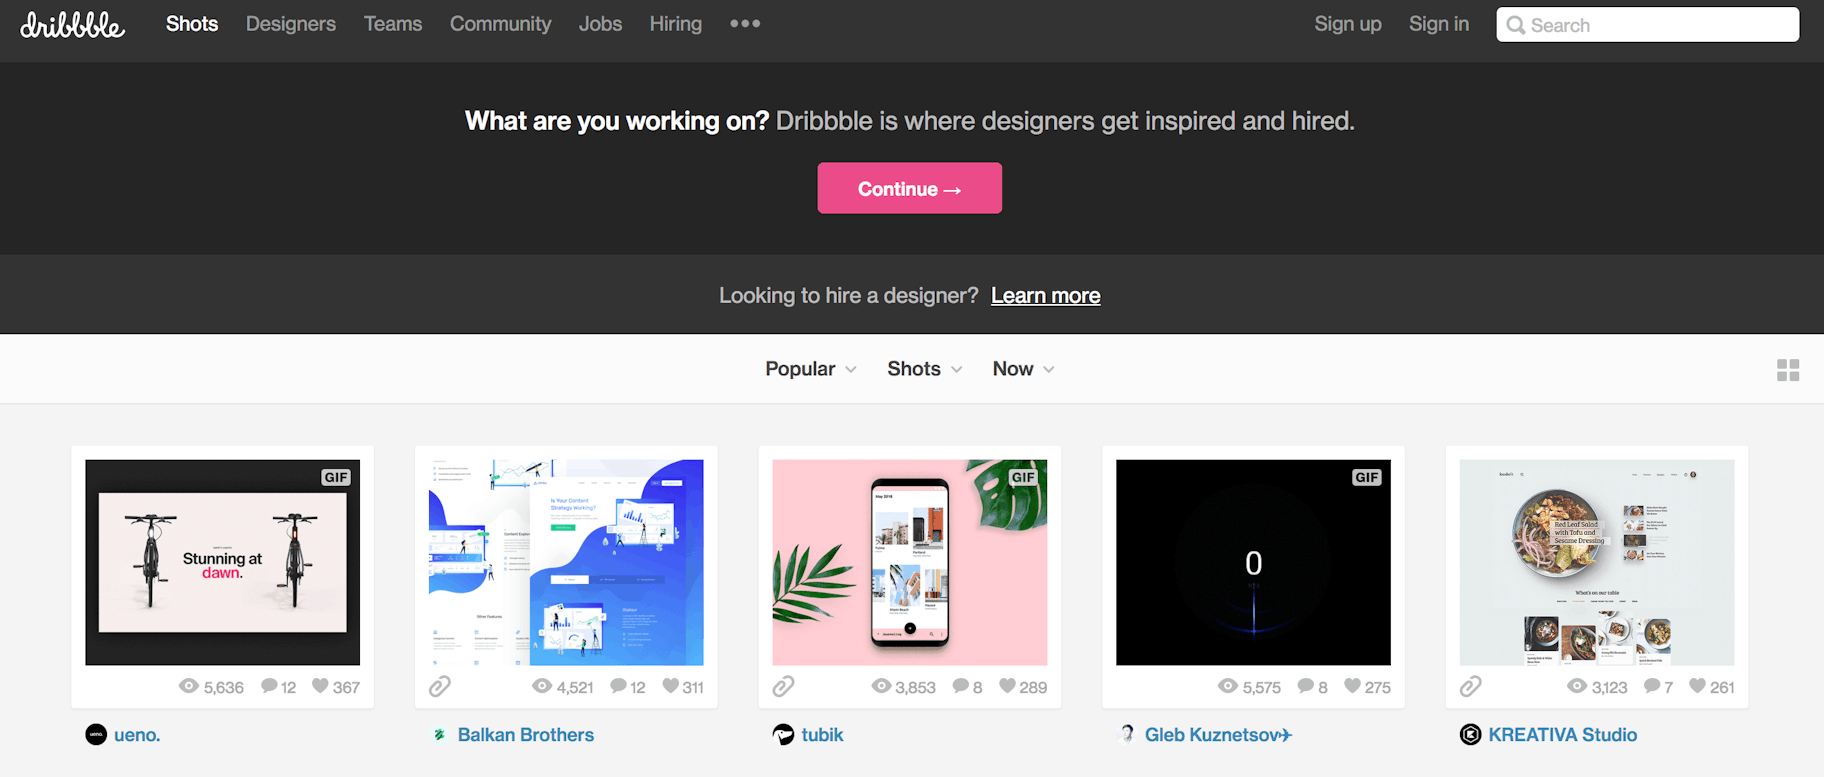
For inspiration, I opened up Dribbble, a design inspiration website, and started browsing through different designs to find a color palette that I liked. I came across a project that had some really brilliant colours, including a very deep, trendy pink that caught my eye. I grabbed the hex code (color code) and headed over to Pixlr to see what I could do with it.
I tried a few different mockups in Pixlr, an online photo editor, but quickly came to a painful realization.
I’m terrible at this.
Every time I tried to put a logo together, it ended up looking strange and unnatural. Definitely not what I had envisioned for my brand.
Instead, I turned to the next best thing: asking my friends for help.
I messaged one of my best friends and asked for her help putting a logo together. She sent this great one back to me within a few minutes, using the hex code that I loved.
Now, I know that not everyone has graphic designers in their immediate circle of friends. Thankfully, there are many great resources out there that can help you get a beautiful, professional logo in no time.
Starting My Store
With a great name and logo at my disposal, the next logical step was to build my first store. I signed up for my free Shopify trial and started setting up shop.
Around this time, I started thinking about the idea of a Minimum Viable Store—what would the most fundamental version of a successful store look like? How streamlined and straightforward could you make an online store and still have it be successful?
I imagined building a store that fulfilled the most foundational requirements of ecommerce and still took off. That’s what I meant by Minimum Viable; I wanted to focus on optimizing the minimum features that a store would need to be viable.
I had already been moving towards this idea by selecting a very specific type of product. I wouldn’t just be selling phone cases, I’d be selling marble phone cases.
I set up my store by following along step-by-step with Oberlo ebooks.
Now, I needed to create a store design that would reflect that same level of laser-focus. I decided to stick with Debut, the theme that every Shopify store automatically starts with. It’s a clean theme with lots of options for customization. The best part? It’s free.
During the process of running this store, my goal was to keep my costs low. Starting your own business shouldn’t be inaccessible; it should be something that anyone can start. I wanted to keep this business affordable, so that people with smaller budgets can easily follow along.
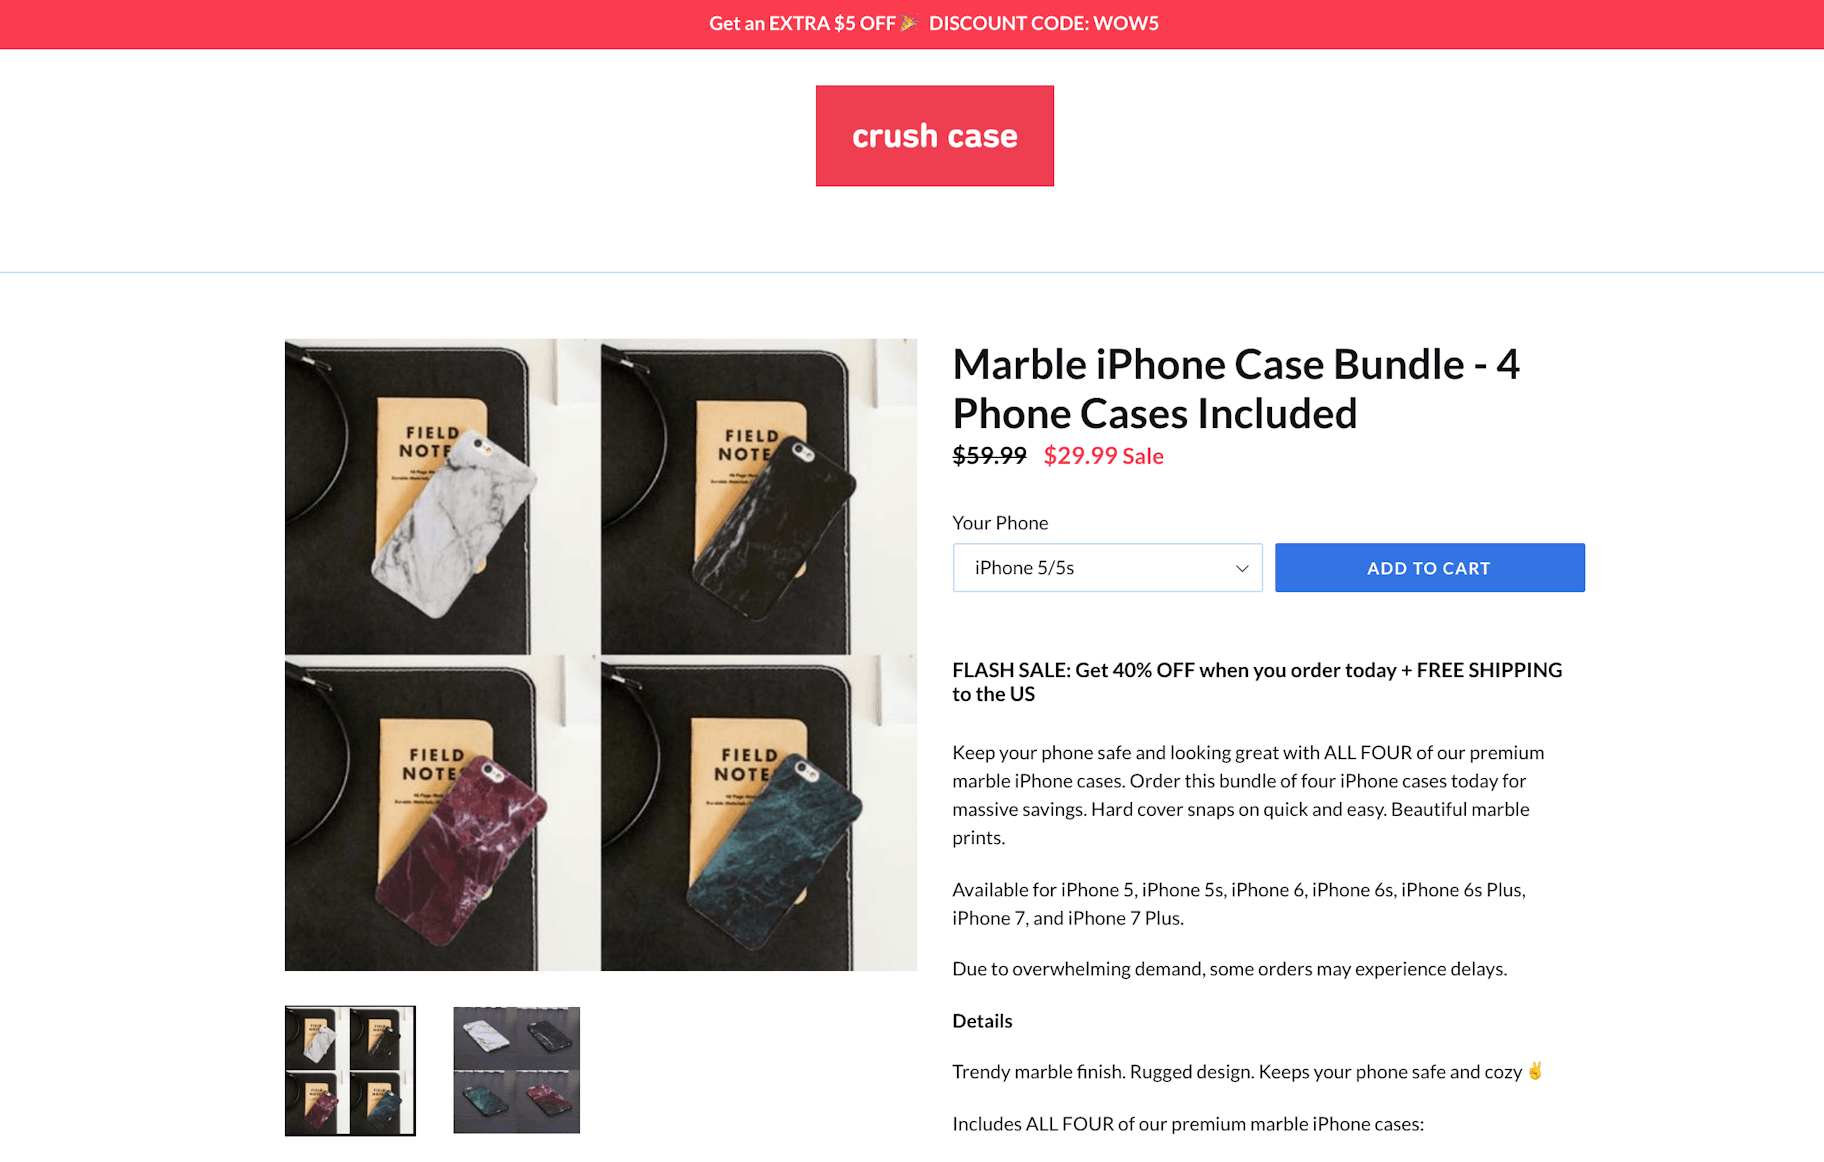
With that in mind, I started customizing my store. I started by importing the products, the ones I ordered samples for, with Oberlo. I designed my store in a way that put the focus on the products I was selling.
So, I decided to hold off on even adding things like an About page for now; I really wanted to see how far I could get by structuring my store in the most minimalist way.
Here’s a quick breakdown of the biggest things that I focused on getting up and running first:
Product Pages
Product pages are a crucial part of any online store. A product page is your opportunity to really sell your product; to flaunt its central value propositions and reinforce trust with your customers.
To start off, you’ll need to make sure that you have some strong product photos. Thankfully for me, some of the product photos from my manufacturer were pretty good to begin with.
For my product pages, I used the two strongest product photos from each batch to give customers a clear look at the product.
Next, I needed to write a strong product description. The description on your product page needs to be persuasive and clearly communicate the value of your product. So how do you pitch a product effectively?
Let’s take a look at the product description that I settled on and I’ll break down why I chose to write it the way that I did.
Product Copy:
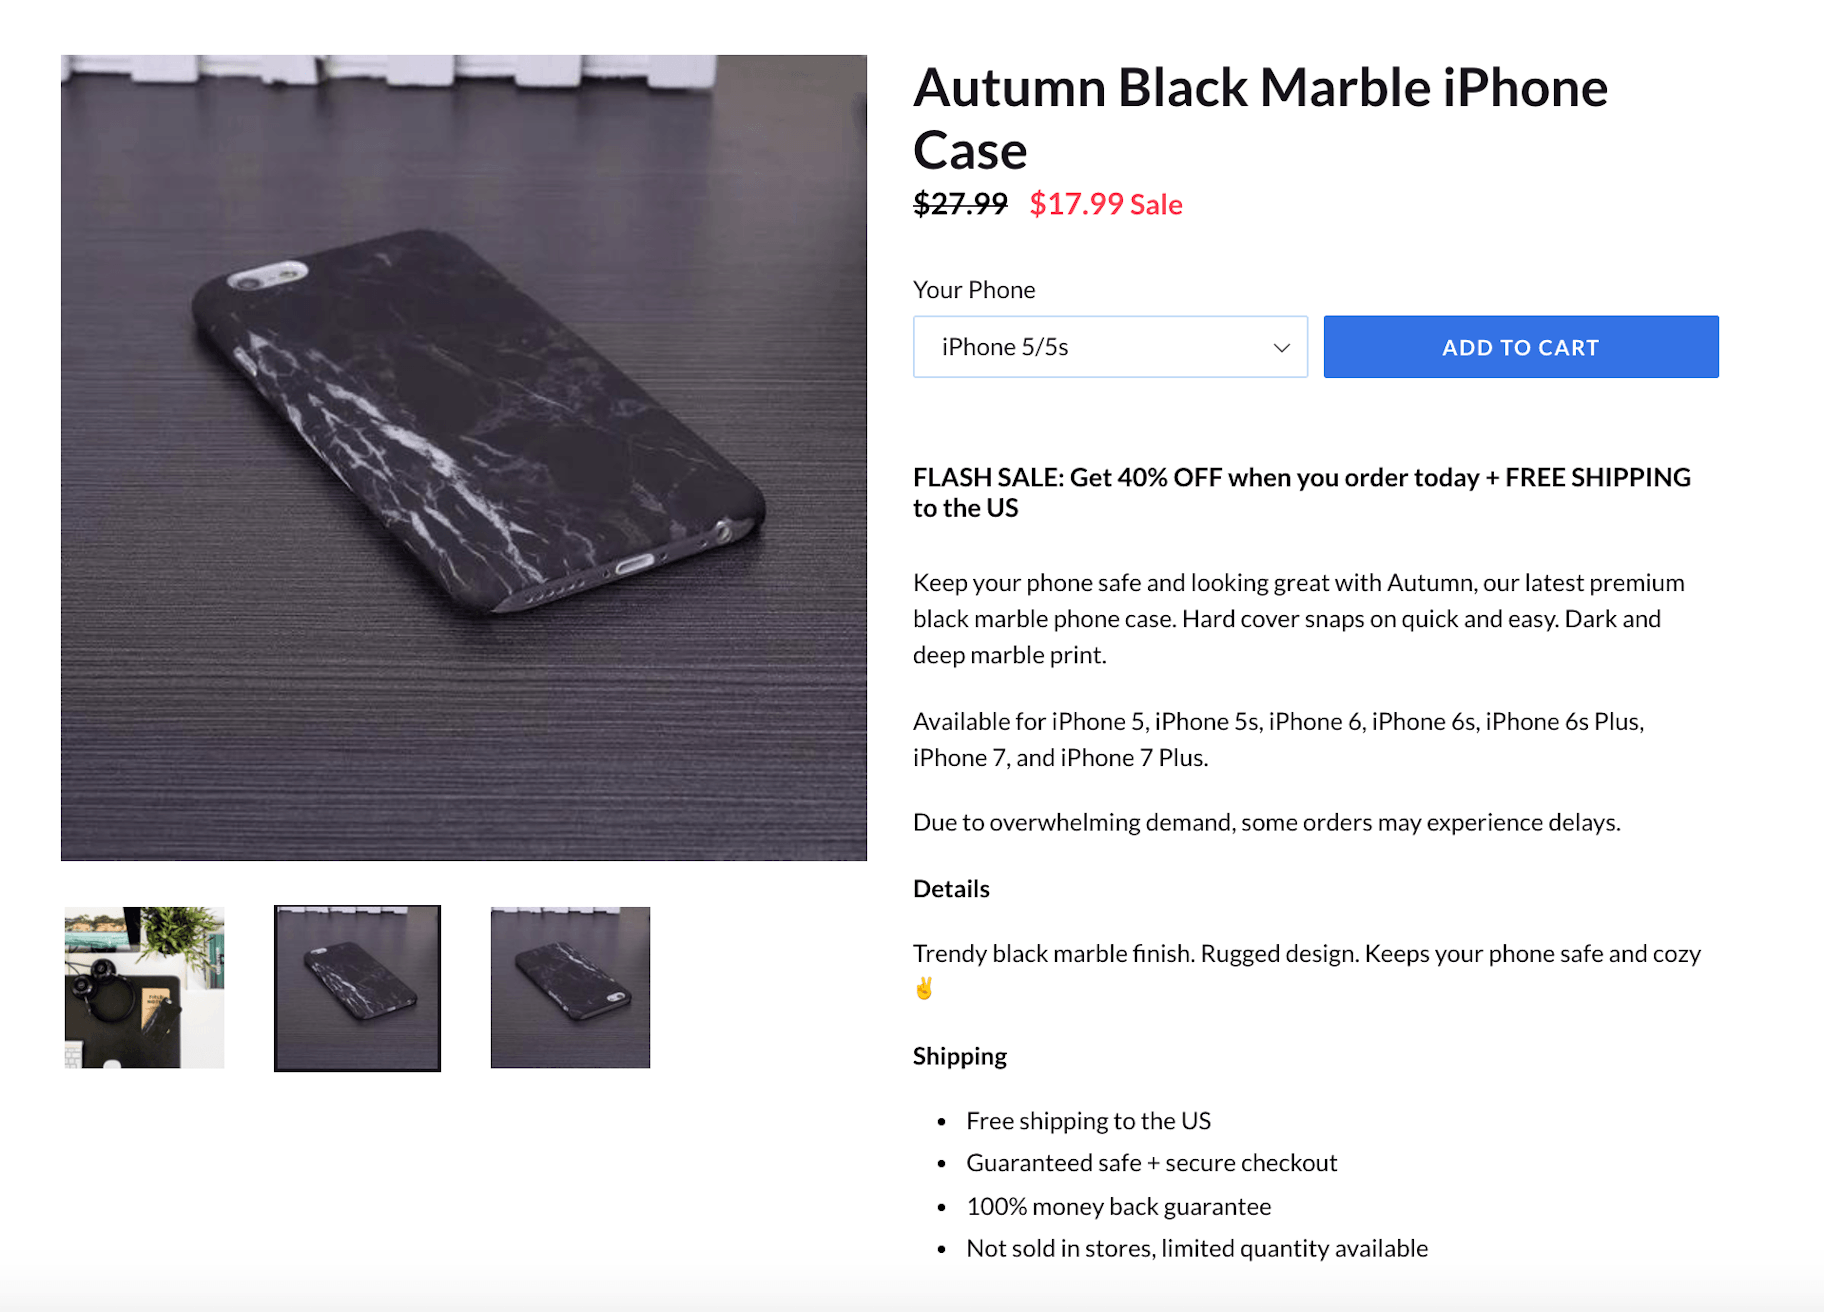
Keep your phone safe and looking great with Autumn, our latest premium black marble phone case. Hard cover snaps on quick and easy. Dark and deep marble print.
Available for iPhone 5, iPhone 5s, iPhone 6, iPhone 6s, iPhone 6s Plus, iPhone 7, and iPhone 7 Plus.
Details
Trendy black marble finish. Rugged design. Keeps your phone safe and cozy ✌
Shipping
Free shipping to the US
Guaranteed safe + secure checkout
100% money back guarantee
Not sold in stores, limited quantity available
———
I started my description with a strong, action-heavy sentence that hit on two of the case’s biggest value propositions—safety and style—to grab the reader’s attention and let them know right off the bat why they should purchase my product. I followed that up with a supplementary value proposition—it’s easy to use—and a slightly more in-depth description of the color.
Next, I listed off all of the phones it was compatible with to minimize confusion and make sure that the reader knew it would work with their phone. After reading just this top section, customers may already be ready to make a decision. But, just in case they aren’t quite convinced, you need to continue to provide proof of why your product would make a smart purchase.
I threw a “Details” section underneath to quickly rattle off bullet points that summarized the above paragraph to reinforce my main points.
Beneath that, I added in a “Shipping” section. When purchasing online, customers can be wary of new online retailers. You need to help ease their concerns by providing as much information about shipping as possible.
Apps
While the Shopify App Store hosts a massive collection of apps covering every single square inch of ecommerce, I only needed a few to get my store off the ground.
The first app that I installed on my store (even before customizing it) was Oberlo. As you know by this point, Oberlo is a powerful app that simplifies dropshipping. With Oberlo, I was also able to import products onto my store, in only a few clicks.
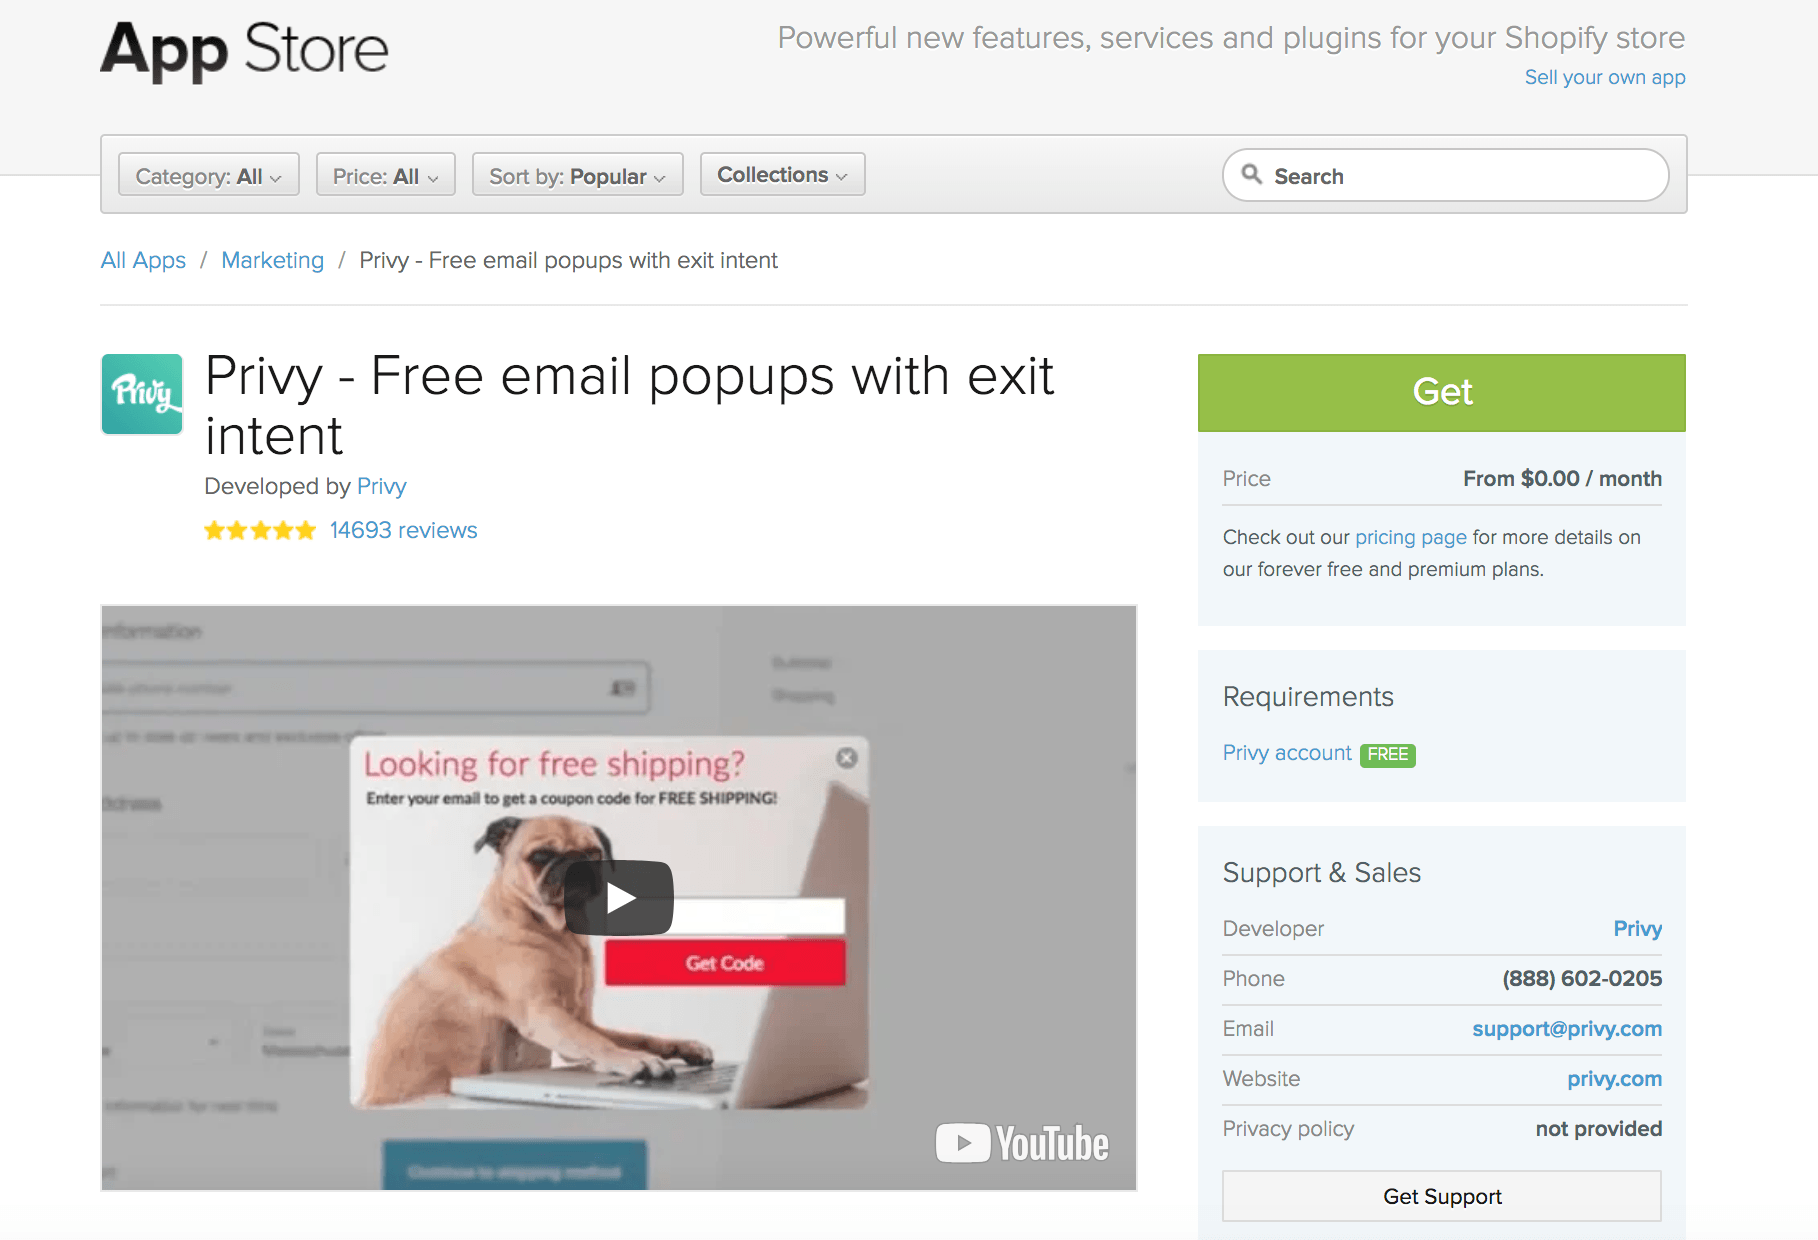
Email collection is huge in ecommerce. With a healthy email list, you’ll be able to get in direct contact with customers and leads to promote new products, advertise sales, and bring people back to your store. Privy is a fantastic app for adding exit-intent email capture popups to your store to help you build out an email list.
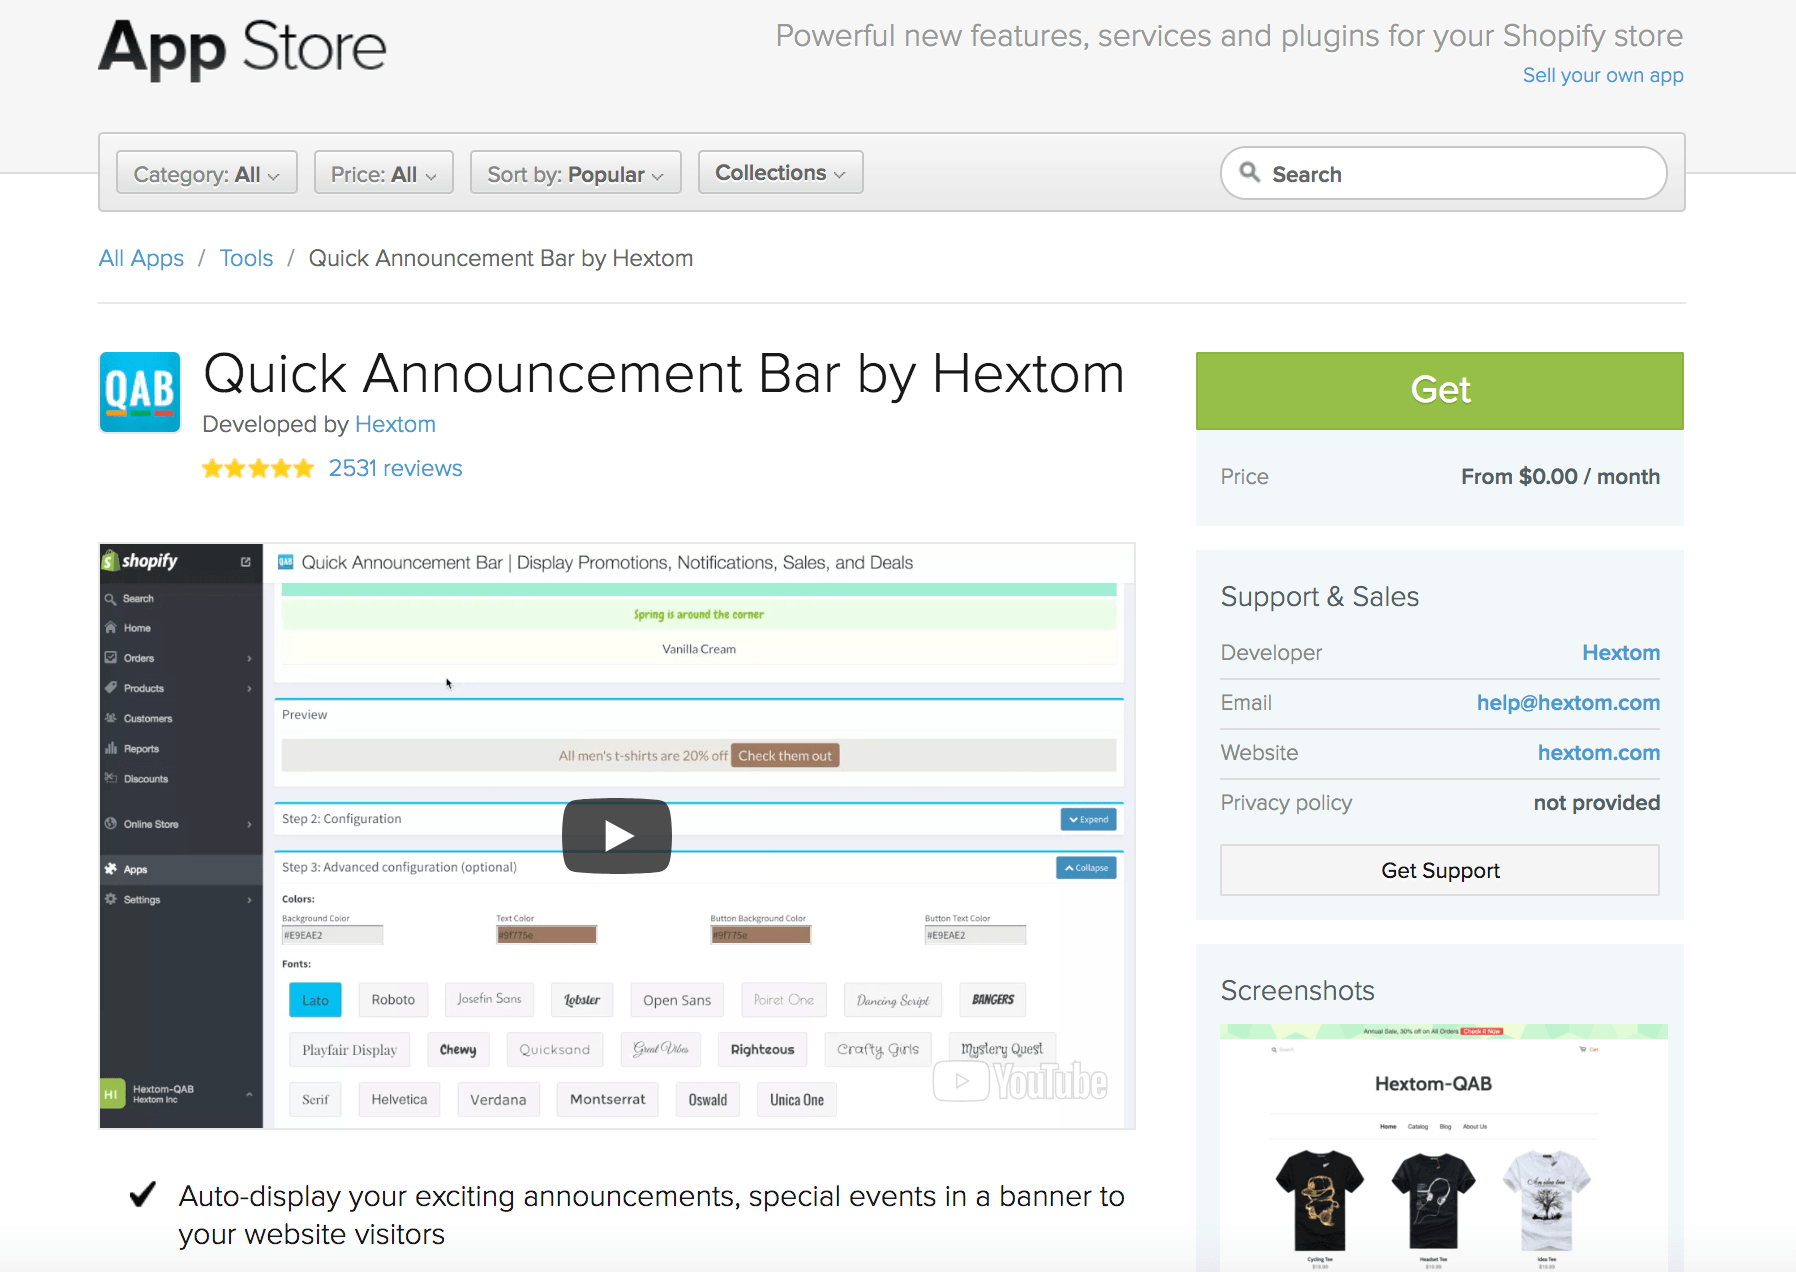
When it comes to driving sales, there are few more powerful psychological levers than urgency. Installing Hextom Announcement Bar on your store allows you to build customizable countdown banners that push customers to act fast before a sale ends.
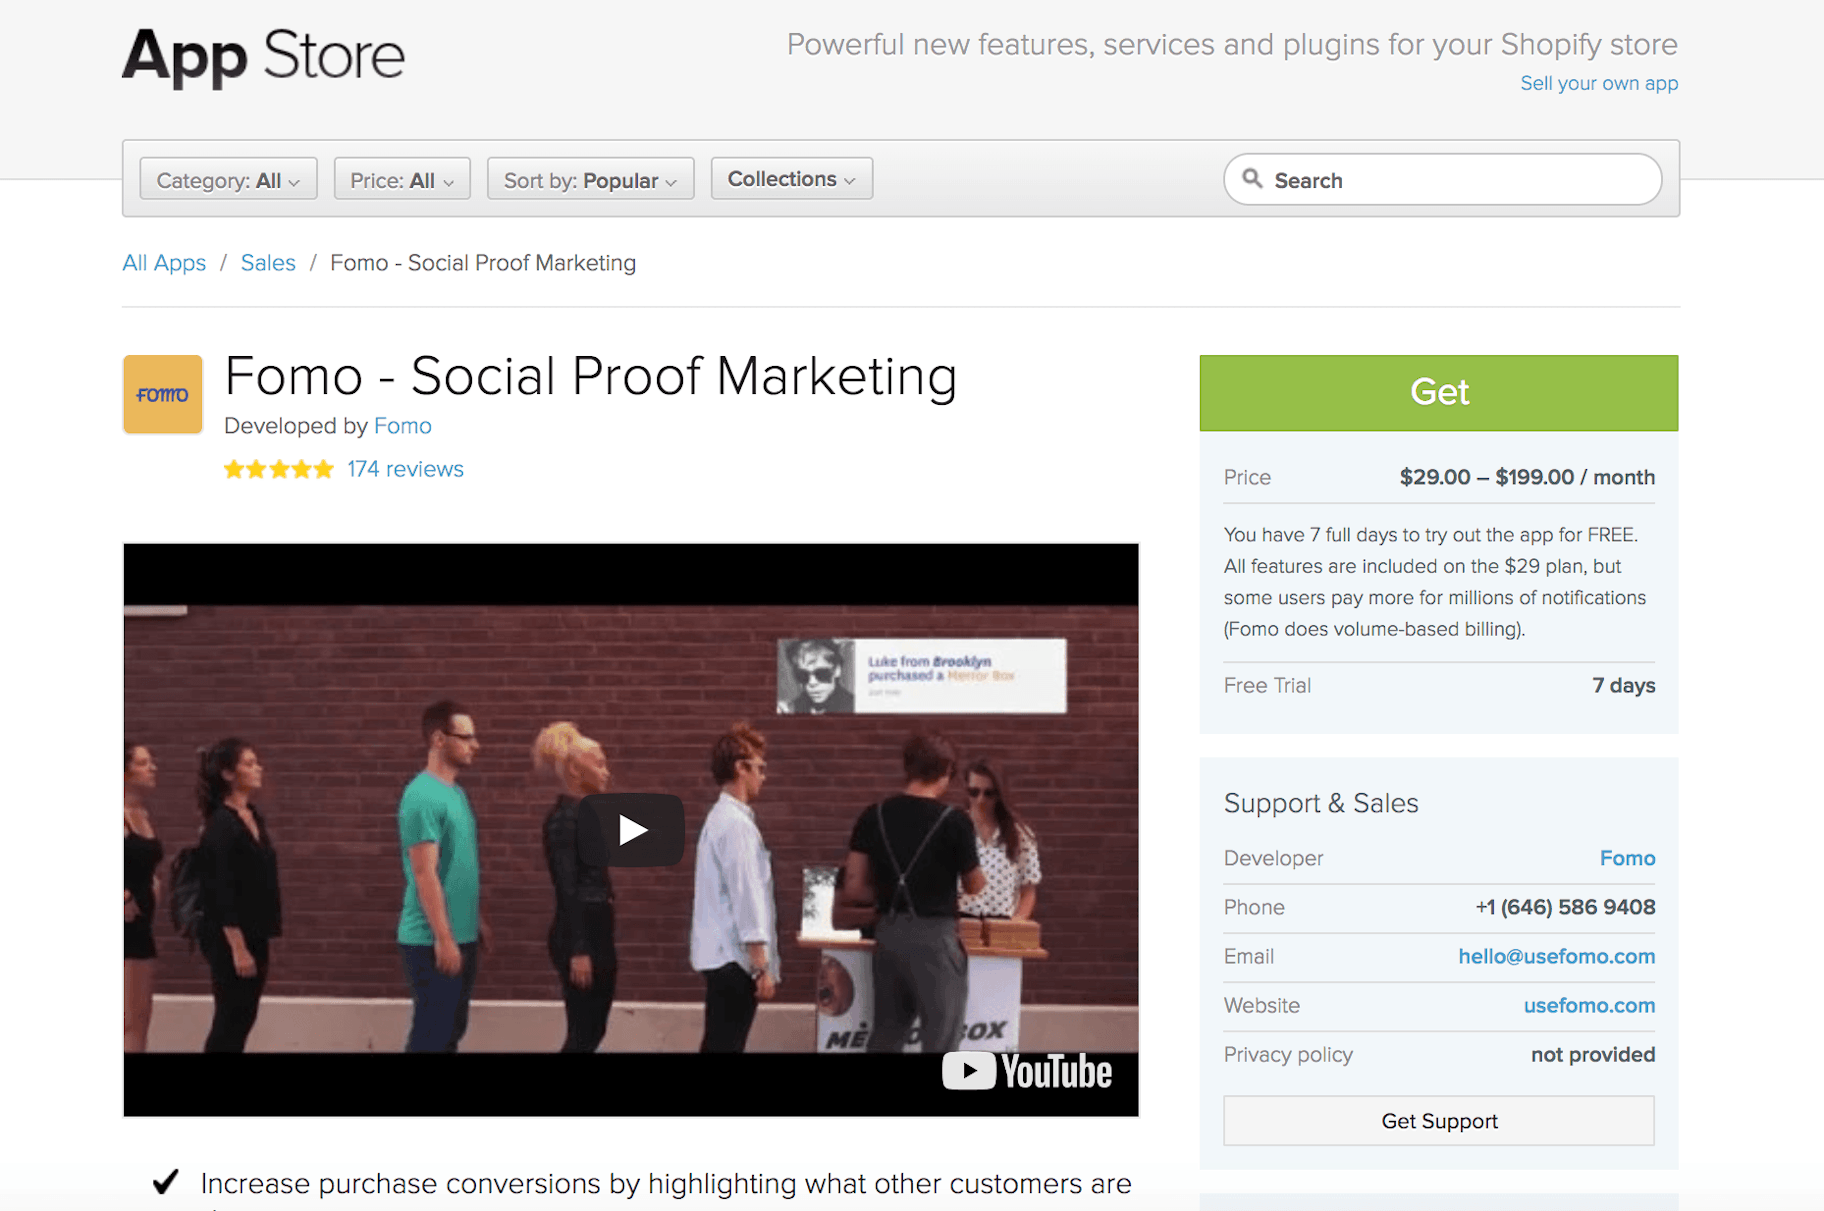
Social proof is another effective psychological tactic for nudging your customers further down the purchasing funnel. Fomo adds tiny popups to your site that let visitors know that other people have been purchasing your products. It’s a great way to showcase your business’ popularity once you start to pick up steam.
Receiving My Samples
About two to three weeks after I had placed my order, which is the standard ePacket shipping time, they finally arrived.
I was so excited to open my package to see how the phone cases looked.
Annnnnddd…
I loved them. They looked just like the picture. I knew my future customers were going to love their products.
However, I knew that me loving them wasn’t enough.
So I asked around.
Overall, my coworkers were impressed with the quality of the products. I was officially given the go ahead to start selling these phone cases.
One thing I want to point out is that we asked the supplier to not send any marketing materials in our package, in Oberlo’s ‘Custom Note’ to suppliers. Our supplier didn’t add any marketing materials to our package so they actually do read the note you send to them. So don’t forget to add something in that box.
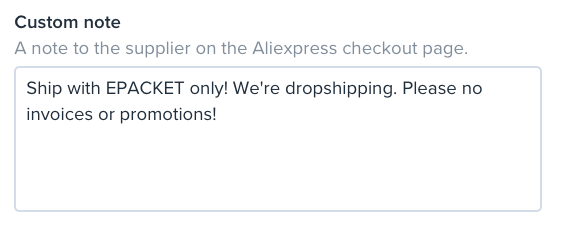
You can find it in Oberlo > Settings > Suppliers > Custom Note.
Getting My First Sale
With my store set up and my samples in hand, I was ready to get my first sale.
I wanted to get my store out there fast, so I turned to Facebook ads as my first marketing tactic.
Facebook ads are a great customer acquisition tool for online stores. They’re easy to set up, have incredibly in-depth targeting options, and get your business in front of customers where they spend most of their time.
I’ve had experience with Facebook ads in the past, but never for ecommerce, so this was new to me.
My first order of business was to get Crush Case’s Facebook page set up. I quickly uploaded a profile picture, grabbed a cover photo from Unsplash, and jotted down a short blurb about Crush Case.
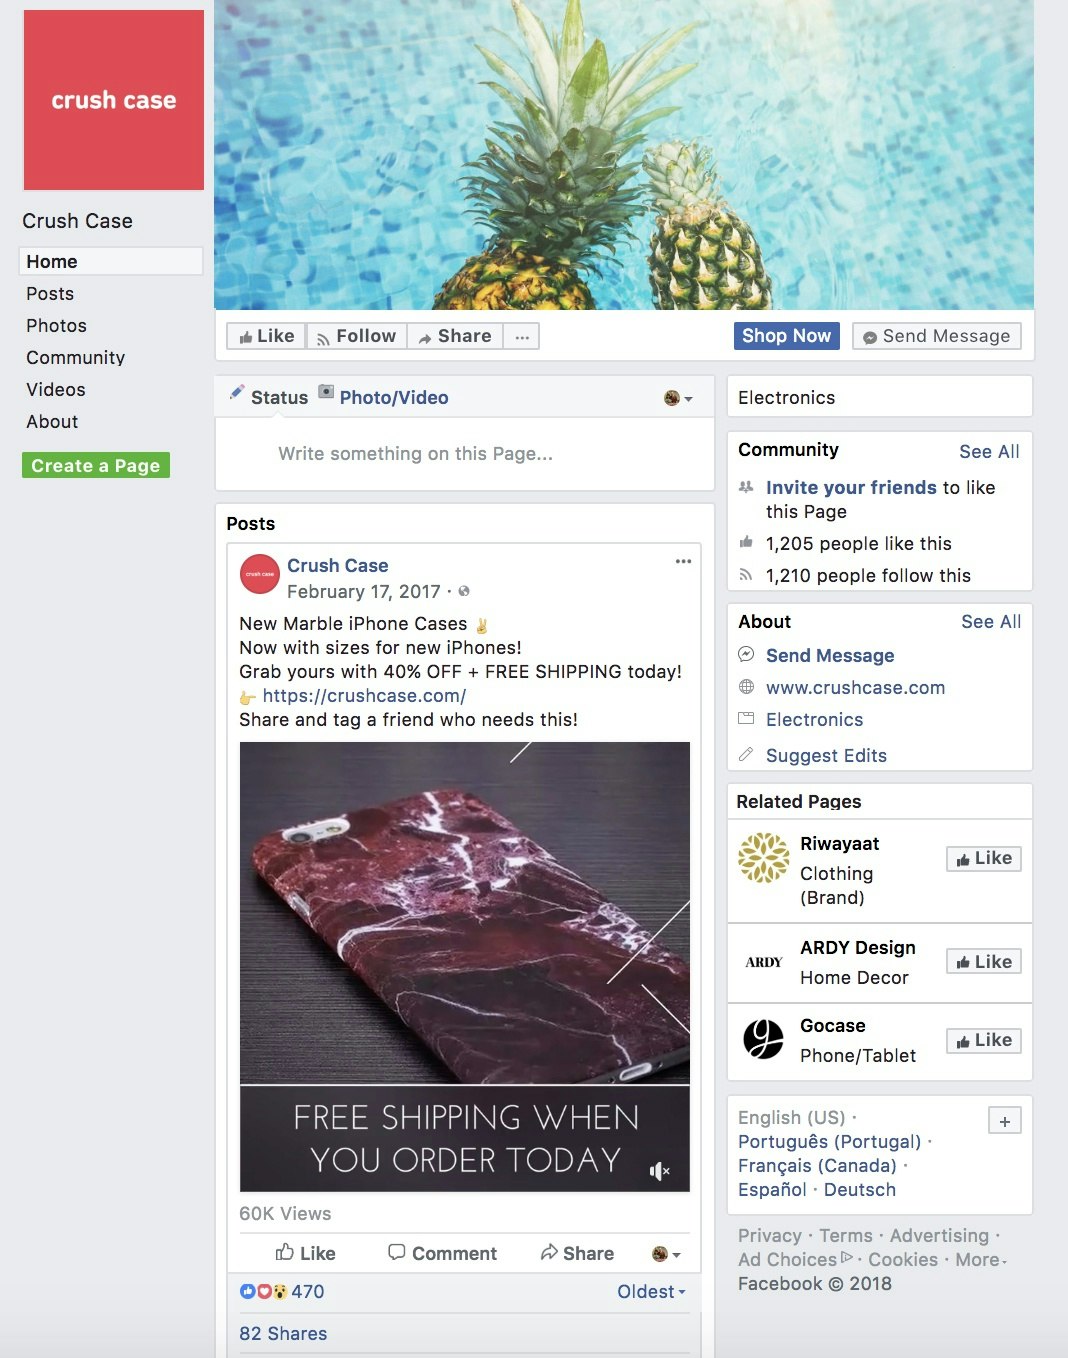
Again, my goal was to create a Minimum Viable Business, so I tried not to get too caught up on filling out every last detail before launching. Spending too much time overthinking every last detail before you launch can be a serious roadblock. I wanted to launch and make sure that my product actually had a market before focusing on filling out every last detail of my business’ online presence.
Before I launched my ads, I decided to try running a sale on my store. Hextom Announcement Bar is a great way to amplify any sale and give your customers a sense of urgency. I marked my products down by 40% and then set my announcement bar to advertise the sale with a countdown that refreshed every 24 hours.
Since my products only cost a few dollars wholesale, I had lots of room to play around with price. I set my product price to 14.99 and then calculated what 40% more than that would be and locked that in as the “Compare At” price in Shopify.
Now that I had a constant sale set up, I launched my first set of ads, using inspiration from a recent trend that was picking up steam on my newsfeed.
Some of the top performing Facebook ads that I noticed recently were formatted in a very unconventional way. They were often organic posts that afterwards had an ad built around them, and they usually listed their products’ value propositions in a bullet-point format rather than trying to tell a complete story.
I decided to experiment with this ad style first since it seemed to be an effective one.
I set up three different ads to begin with: one for the white marble phone case, one for the black marble phone case, and one for all four phone cases. For the ad featuring all four cases, I used Collage by Instagram to piece all of my product photos together.
Instead of starting an ad from scratch, I decided to post my content organically to Crush Case’s Facebook page and then build an ad around it after. In each post, I used a nice, high quality photo of my phone cases and laid out the strengths of my products as clearly as possible in the caption. Here’s a template of the format I used:
New [YOUR PRODUCT NAME]
Now with [FEATURE THAT SETS YOUR PRODUCT APART]
Grab yours for [DISCOUNT PRICE] + FREE SHIPPING today
[DIRECT LINK TO PRODUCT]
Share and tag a friend who needs this!
After posting to my page, I went to Facebook Ads Manager and started building ads to promote my posts.
For all my ads, I set the objective to “Engagement”. While it might be tempting to set your objective to “Purchases” right off the bat, there are a few reasons that make “Engagement” a smarter choice. Especially since I was focused on boosted posts for my ads.
First of all, you need to let your Facebook Pixel bake. That means Facebook needs to collect as much data about your ideal audience as possible through trial and error. This process takes time.
When you set your ads to engagement, Facebook will use your initial targeting to seek out people that respond positively to your content. As it gathers data about people who are more likely to engage with your audience, Facebook will become more effective at serving your ads to the right audiences.
Once Facebook has had enough time to refine its targeting for engagement, you’ll be ready to switch your objective to “Add to Cart” and perform this process again and again until you’re finally optimizing for purchases. Though, sometimes this can break your ad.
Along the way, Facebook will still find customers for your business, but it’s a tactic that increases in effectiveness as you put more time and effort into it.
After setting my objective, I started customizing my targeting. Since I started with a product and not a niche, this part involved some educated guesswork.
As I mentioned above, I had noticed marble iPhone cases on the shelves at big box retailers like Urban Outfitters, so I figured a good first step would be to target fans of these existing businesses and other brands in the same industry. I also added some beauty YouTubers whose audience I thought could potentially want to a marble iPhone case.
I also made sure to edit my placements, so that my ads were only going to be visible in Facebook feeds—not on Instagram or the right hand sidebar. Because I was selling iPhone cases, I decided it was best to make my ads only appear on mobile and target them towards qualified iOS devices.
With my targeting good to go, I set a budget for $20/day and selected “Use Existing Post” rather than creating a new one from scratch. Then I let my ads run.
Hitting My First Roadblock
I was pretty excited after getting my first ads off the ground, so I checked back often to see how they were doing. Engagement on them was great; within less than an hour, I saw reactions and comments rolling in on my post. This was a good sign: it meant that I was probably on to something. If people were at least engaging with my content, then I had probably managed to hit the right market in some way.
As my ads started to take off, I loaded up Google Analytics to check how they were performing. I switched to the real time view and noticed something incredible: someone was checking out! In just two hours, it looked like I was about to have my first customer.
At this point, I got pretty excited. Like, seeing Drake at the mall excited. If I was already getting customers in such a short time, I must’ve been some sort of ecommerce genius.
And then, nothing.
They came so close to checking out, then just navigated away… taking away my hopes and dreams with them.
What did I do wrong?
Over the next few days, I observed the same thing happening several times. Products were being added to cart, customers were dropping in their personal details, and then suddenly they’d disappear. It was an extremely frustrating experience.
A few days later, I was tweaking some settings in Shopify. That’s when I noticed something heartbreaking.
I had never finished setting up my Shipping settings.
Damn it.
Customers were getting to the final part of the checkout process, but weren’t able to select a shipping option and, therefore, couldn’t checkout even if they wanted to.
I would definitely count this as a low point in the process and my first true roadblock. For days, I had been sending customers to my website, letting them choose products that they were genuinely interested in purchasing, and then sending them to a dead end. In just five days, I had racked up 20 abandoned carts due to my own inattention to detail.
I immediately fixed the error and then sat there wondering what to do, looking over my abandoned carts carefully. Suddenly, I had an idea. A simple way to try and get some results out of failure.
I created a discount code for 20% off and then began firing off abandoned cart emails to every lost customer, apologizing for the technical errors that prevented them from checking out and offering the discount as consolation.
Unfortunately, this tactic didn’t work for me in this situation, but it’s always worth a shot.
Customers that navigated away had expressed intent in purchasing my products, but were never going to come back unless I made an attempt to pull them back. I highly recommend setting up abandoned cart emails for your store and, if you ever go through a similar situation, sending some contextually-specific ones instead.
My first order came in just a couple days later and was quickly followed by a second order just a couple hours later. Although I was still hurting from all the orders that I missed out on, I was happy that I finally seemed to be on the right track. I fulfilled my orders using Oberlo and went to sleep that night happy that I had managed to make my first sale—my first sales, in fact.
Fulfilling an Order through Oberlo
Now that my store was starting to get orders regularly, I was becoming very familiar with the process of fulfilling them through Oberlo. Thankfully, Oberlo simplifies processing orders for your customers.
When you have an outstanding order in Shopify, head to Oberlo (it shows up under Apps).
Oberlo is organized in a similar way to Shopify, so it should feel familiar to you right away.
Click on “Orders” and, when you find an unfulfilled one, hit “Order Product”.
Oberlo will then take over your browser and automate the process of dropping in your customer’s shipping information. You’ll just need to pay once your cart is good to go. And that’s it!
Before you fulfill your first order, it’s important to make sure that your Oberlo settings are all properly set up.
Putting My Email List to Good Use
My Facebook ads were continuing to drive steady traffic to my store, and I wanted to use this to help grow my email list.
With Privy, I set up an exit-intent popup that offered a 15% discount code in exchange for a visitor’s email. Although I often find myself navigating away from exit intent popups on other websites, this one proved to be very successful at building out my email list quickly.
Once I had collected almost 40 emails, I decided that it was a good time to try out my first email marketing campaign. I loaded my contacts into my email provider and whipped up a quick email.
I wanted to strike a personal connection with my list, especially since it was so small. I opted for no graphics and instead focused on a plain text version that looked similar to something that you might get from a friend.
My email included a discount code for $4 off (the subject line was very straight forward: “Here’s $4”) and included a clear call-to-action at the bottom for feedback. Since it was still early on and my store hadn’t yet proved to be a runaway success, feedback from potential customers could prove incredibly valuable as I continued to scale.
While this campaign was promising, it didn’t yield any real results for me. My open rate was 42.1% and 21.1% of those opens lead to clicks-to-website, but no one redeemed their discount code.
Although the results were a little disheartening, I didn’t let it hold me back and continued onward with my Facebook ads.
Tweaking and Optimizing My Ads
My Facebook ads were providing a healthy influx of orders, but I started to look for opportunities to make them even better.
I took a look at my original sets of ads and noticed that the one showcasing all four cases at once was outperforming the others by far. I decided to turn off my underperforming ads, push forward with my best one, and try out some other quick experiments and hacks.
I created a new campaign around my best performing ad with “Add to Cart” as the objective. Now that Facebook had started to hone in on the audience that engages most positively with my content, I was ready to start guiding Facebook towards tracking down people who will have a greater intent to make a purchase.
With my new campaign, I also increased the budget slightly. I was tempted to throw a massive amount of money behind the ad since it was performing so well, but I was worried that altering the formula too much would kill the magic. Instead, I added $5 to the daily budget and made a note to increase it slightly every few days (and stop increasing it if it ever showed signs of wavering).
While I was going through my ads, I started to think about my product photography. The photos that I got from my manufacturer were decent, but nothing special. I wouldn’t consider my personal photography skills very strong either, so I started brainstorming ways to get around my challenge without having to bother a more talented friend or a professional photographer.
I jumped on Unsplash and started hunting for stock photos of phones or desks, hoping I’d be able to find an eye-catching scene that I could edit my product into. Eventually, after a quick search for “iPhone”, I found a gorgeous overhead shot of a desk with an iPhone as the central focus.
I downloaded the stock photo and fired up Pixlr to try and put my minimal design skills to the test. On the product listing, there was a photo with all four phone cases set against a white background. So I isolated each phone case and pasted it into my Unsplash photo overtop of the iPhone in the original image.
The iPhone in the original stock photo cast a shadow beneath the case, creating a convincing illusion that made my photoshopped image look completely real. I set up some more ads with these updated photos to gauge whether the improved visuals would have a positive effect on sales.
These new photos were also perfect for showing off my products on my actual store. I switched out all of the main product shots on each product page for my newly created lifestyle photos.
I was also starting to think about some new ways that I could try to refine the targeting on the ads. While I was already only targeting iOS devices, I figured that I could go even more granular. I set up a new campaign that centred around promoting my iPhone cases specifically to iPhone 6S users and referencing the 6S in the copy. I kept the targeting similar to my original ads, but excluded all devices except for the iPhone 6S.
Doing Things that Don’t Scale
Facebook had become a great source of revenue for my store. My ads were regularly pulling in orders and I felt like I was on the right track. While steady traffic from Facebook was converting well, I decided to look for some new ways to drive some bursts of qualified traffic.
In Tucker and Corey’s previous case studies, posting to Reddit had provided a surge of sales and popularity and I wanted to try to replicate their success.
I headed to r/ShutUpAndTakeMyMoney and tried posted my products, but after a couple hours and dozens of hits, I was banned from the subreddit and my post was deleted.
It was a bit frustrating, but I quickly understood why I was banned so quickly—after my post was deleted, I checked the subreddit’s rules and noticed that they explicitly forbid dropshipping. I went to RedditList and found some subreddits that were designed for dealsharing. However, posting my products to these subreddits also yielded similar results.
Some traffic, no sales, and one banned account.
While Reddit is a huge gathering place for tons of different communities, it isn’t the only way to find active niches online. Facebook Groups have exploded in recent years and there are tons that are built solely around deals and sales.
I headed over to Facebook and searched for things like “deals”, “sales”, “discounts”, and “iPhone”, joining whichever groups popped up that had over 1000 members. Once I was accepted into a group, I posted a link to my store along with a discount code.
This type of marketing didn’t really cost me money (just time), so I was able to give a significant $12 discount code with each post and not have to worry about it killing my margins. I ended up snagging a few orders like this, but nothing sustainable or long term obviously. Still worth a shot if you’re struggling to validate your product early on as long as you avoid being spammy and give each group value in exchange for their attention.
Setting Up an Affiliate Program
At this point in the process, I was very focused on finding some additional revenue streams for my store that didn’t require any upfront costs. So, setting up an affiliate program for Crush Case was my next order of business. You can get an Affiliate Program running in just a couple hours, completely free of cost.
The basic structure of an affiliate program is pretty straight forward: Give an influencer a unique coupon code and for every redemption of that code, you send them a reward.
For my program, I decided to offer influencers 15% coupon codes and send them $5 if a sale was made using that code.
I started by looking up ToThe9s, a pair of fashion and lifestyle YouTubers that fit into my target demographic perfectly. Although, ToThe9s would be perfect, they were already too popular and had too large of an audience to realistically take me up on my offer.
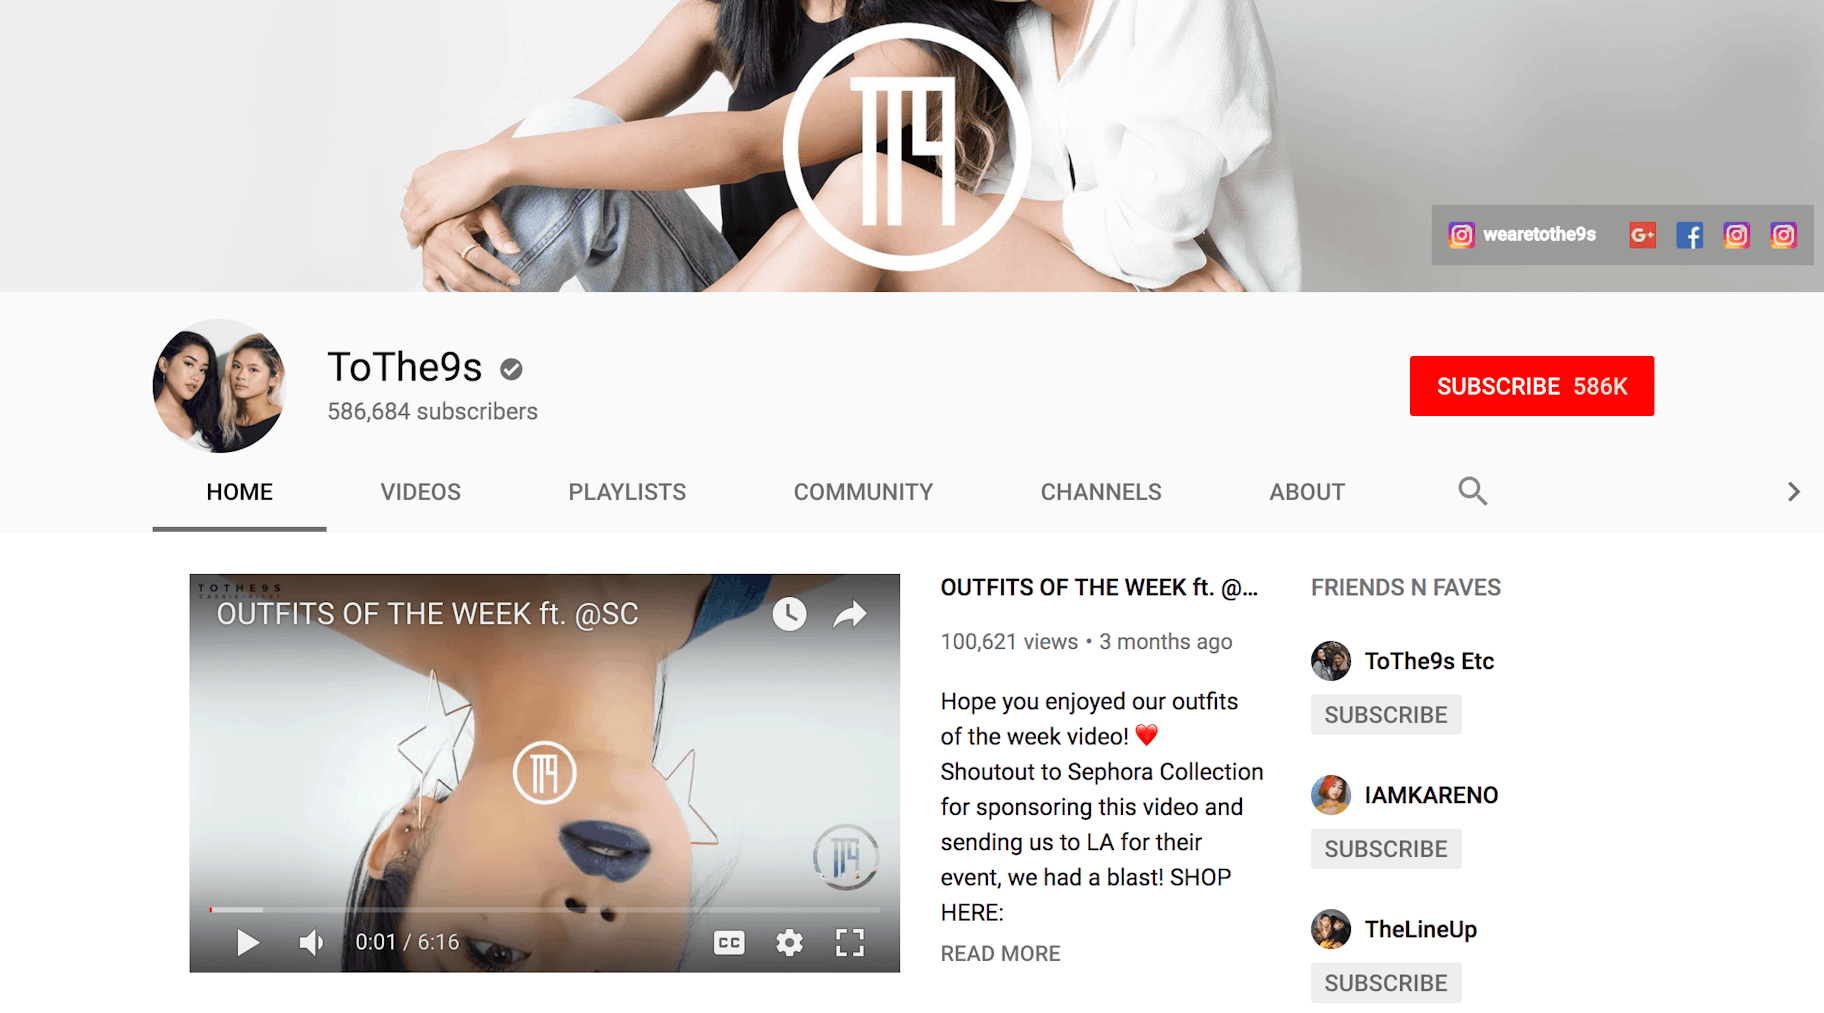
Instead, I started searching through their related channels for YouTubers with under 2000 subscribers. While 2000 subscribers might seem like a small audience compared to the 500 000 follower powerhouses, it’s still a substantial-sized audience. At the very least, it indicates that a YouTuber has regular viewers who value their opinion.
After combing through their related channels and the related channels of their related channels, I put together a list of 40 different influencers who might want to participate in my affiliate program and sent them an email.
Within a couple days, I started getting emails back from YouTubers interested in taking me up on my offer. Most asked if they could get a case for themselves first which is understandable; they want to see the quality of a product before they start promoting it.
Unfortunately to me, due to my lengthy shipping times, it was unlikely that any YouTubers would receive their cases within the timeframe of my case study. I shipped out their phone cases anyway because it would help bring in sales for my business further down the line.
Affiliate programs like this one are incredibly easy to set up and cost you almost nothing. They just take a bit of time and research, but can help you pull in a continuous stream of sales without spending any money up front.
The Final Push
After laying down a strong foundation of growth tactics for my store, I started thinking about some final things that I could try to pull out some more revenue and really grow my store to its true potential.
Video Ads
Video has exploded all over social media recently, so I was very interested in creating Facebook video ads for my products. Thankfully, I didn’t need a full film crew to pull this off either.
GoPro has a super handy app called Quik that can take a bunch of different photos and stitch them into a prepackaged, highly engaging video with stock music.
I downloaded Quik and tossed in my product photos. After choosing a flashy template and some funky music, I had my first video ad. I added text captions that showcased discounts and free shipping and I was done.
The whole process took less than 5 minutes which is pretty crazy when you think about it. Putting together a professional-looking video ad seems like something that would be very time and skill intensive, but thanks to apps like Quik, it’s incredibly accessible.
I published my video to Crush Case’s Facebook page and built an ad around it in the exact same style that I had used for my previous ads. As a test, I also built a traditional video ad, but within a few days the non-traditional one was outperforming the traditional one by far.
Here it is:
Retargeting
I noticed in Google Analytics that my site was getting a substantial amount of traffic from my Facebook ads—over 6000 unique sessions in just a few weeks. Since my overall number of orders was considerably less than 6000, I knew that there was a big opportunity here. With retargeting ads, I could work on recapturing visitors that had taken a look, but left without buying anything.
I set up retargeting ads (note: you’ll need to make sure you’ve had your Facebook Pixel set up already to do this) and put a modest budget behind them of $20 per day. There were a few specific things that I did to try to maximize the impact of my ads:
- Placement: I made sure to only serve my ads in the right hand column—not in feeds. I didn’t want people to scroll past my ad.
- Budget: Rather than spending money on impressions, I made sure to set up my ad so that I only paid when people actually clicked through. This meant that I wouldn’t be wasting money on just showing up. Instead, I’d only have to pay for visitors that are actually coming back to take a second look at my phone cases.
I also decided to set up Dynamic Product Ads for my store. Dynamic Product Ads are a type of retargeting ad that serves visitors ads with the products that they specifically viewed or added to their carts during visits to your store. They seem complicated at first, but are actually super easy to set up if you have a Shopify store.
Dynamic Product Ads are great because of the level of personalization that they bring to Facebook ads. Rather than hitting all of your visitors with a catch-all campaign, each ad is tailor-made to appeal to every audience member’s interests. That means that they only get served ads that feature products that they’ve already expressed interest in.
More Email Campaigns
At this point, I had built up a pretty large email list exclusively from my Privy popup—over 700 subscribers in just a few weeks. I decided to keep trying to hit this list with different offers, hoping that I’d be able to find something that resonated with them.
Since any sales that I would make through an email would be essentially free (I wouldn’t have to spend any additional money acquiring those customers since I already had their contact information), I went offered a discount with my next campaign.
I sent out the campaign, mimicking the casual and personal style of my previous email. This one actually performed much better than my initial $4 off deal and managed to pull in five fresh sales for me. It wasn’t a runaway success, but five new sales were better than nothing and I was glad to be putting my email list to good use.
Things I Wish I Knew Before I Started
This whole process was a great learning experience for me. But looking back there were some things that I wish I had done a bit differently.
I would’ve kept my ad costs a lot lower if I had just focused on Instagram marketing instead. This product probably would’ve sold a lot better if I had focused on Instagram. Plus, if I had recruited some influencers to post pictures with their marble phone cases it could’ve resulted in a lot more sales. I wish I had also spent more time trying to build my audience on Instagram.
Another thing I failed to do well is set the right shipping expectations. I knew from ordering the products myself that it would arrive within 2-3 weeks with ePacket. I should’ve made that clearer to my customers on the product page. The delay resulted in some complaints and if I had just been more transparent I could’ve reduced that number drastically.
While the minimum viable store is a great idea, I think I could’ve gotten more sales if I had more than just one style of products. I was too limited in who I can target and reach. If I had a greater selection of phone cases styles I might’ve had better luck scaling my store. It was a great experiment for the first few weeks to test the idea. However, you can’t build a long-term business with just one style forever.
But it’s always easier to look back and see what you could’ve done better than to know it while you’re doing it. I’m still really proud of the store I’ve built.
Conclusion
In the end, I ended up making $4558.03 in 9 Weeks. Considering this is the first store I’ve ever built, I’m actually really happy with what I’ve accomplished over the past month and a half. I learned a lot of valuable lessons that can be applied to some of my future businesses.
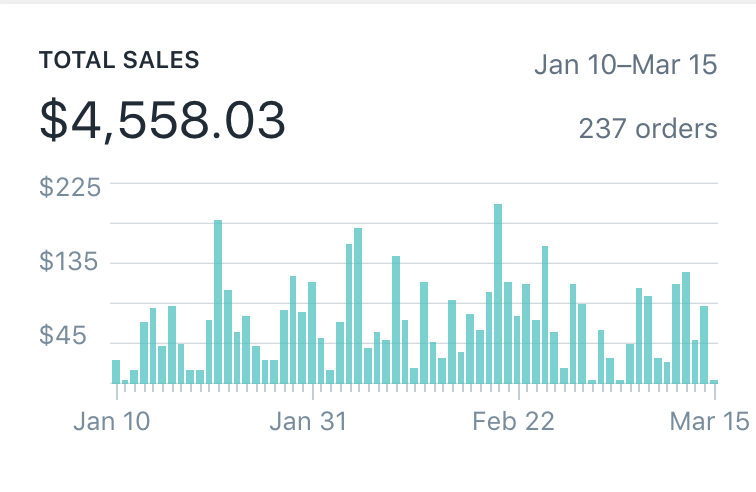
For those of you who are either starting your first store or thinking about it, just start building. You’ll learn a lot from building your first store. If your first store fails, you’ll learn lessons that you can apply to your second store. If your first store succeeds, well you should leave a comment on this, because I’d love to learn from you.
Happy dropshipping!
